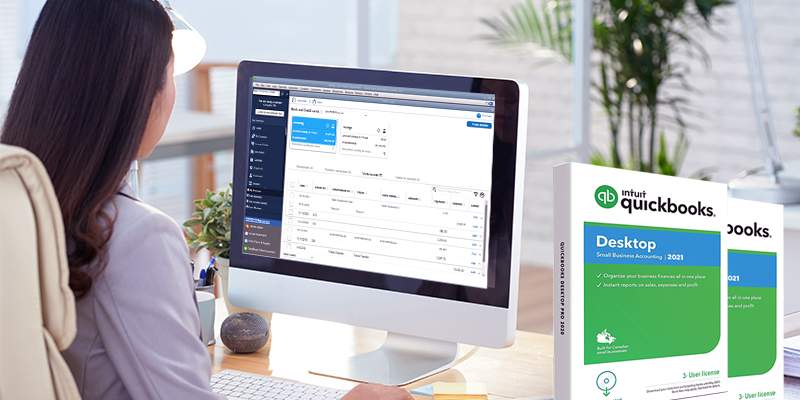
For invoicing customers, you need to have services listed in QuickBooks first. QuickBooks allows you to add three types of items – non-inventory items, inventory items, and services.
In this article, we will know about how to add service items in QuickBooks Desktop Pro. There are two ways to do this, manually and automatically by importing files. Let us first learn how to do it manually in a step-by-step process.

1- Adding Service Items to QuickBooks Manually
For adding service items, you have to create service items. You have to create it just once and you can add them to sales forms as many times as you want. This way you don’t have to type the same line of item information repeatedly into sales forms.
Here is how to do this:
Step 1
Go to the List-> Items List->Item->New. Otherwise, you can also follow the shortcut. When you are on the Items List page press “Ctrl+N”.
Step 2
Select Service from the drop-down menu to choose the appropriate item types.
Step 3
Type the name or number of your service in the Item Name/Number box.
Step 4
If the item you entered is a subitem of another service, you have to check the Subitem of the box. Then, select the correct service item from the drop-down menu.
Step 4
From the adjacent drop-down option, select the main service item for which the current item has to be categorized.
Step 5
In the Description field, write down the service description you are selling. It will be visible to your customers when you send them the quotes and estimates.
Step 6
Enter the rate of your service.
Step 7
From the drop-down menu, select whether your service item is taxable or non-taxable by selecting the Tax Code.
Step 8
From the Account drop-down, select Income Account in which your sales of service attributes.
Step 9
In the top right-hand corner you can see a blue OK button. Click the button to save your item. Select next, if you want to add more.
Now, all the items you saved are added to your Item List and are visible. Now you are ready to start invoicing your customers.
2- Adding Service Items to QuickBooks Automatically by Importing
If you are already keeping track of your products or services in a spreadsheet, importing all your data is the best way to save time. Importing is easy in QuickBooks Desktop Pro. Here is how you can do it:
Step 1
Go to File->Utilities->Import->Excel Files.
Step 2
Select the type of data you want to import, Customers, Vendors, or Products I Sell.
Step 3
Click Products I Sell. If you have already formatted your Excel file, skip this step. Now, click on the Advanced Import tab available on the right-hand side of the screen to complete your import.
Step 4
If you are importing it for the first time, you will see a warning message saying, you can’t undo imported information. Simply click the Yes and continue with the process.
Step 5
You will see a spreadsheet template with predefined columns, which is customizable. You can easily format each cell above the column headings. To this, you will get the example when you hover over a cell. Change the name of the columns as per your requirement. Similarly, by hovering you can get instructions on what type of information should be there in each cell.
Step 6
Check for any error in the file before importing. QuickBooks Pro will notify you if there is an issue by putting a message in the error box on the top left-hand side of the file. Also, a red warning triangle appears in the corner of the cell that contains an error.
Step 7
When you are sure all your data entered are correct, click on Add My Data Now Button.
Step 8
All the changes made in the QuickBooks Excel template were not saved before. To save this, simply click on Save & Add My Data Now.
Step 9
The saved document should be appearing in the browsing box. If it doesn’t, click Browse and select the appropriate file.
Step 10
Click on Add My Data Now button and you are done.
Summary
In both ways, QuickBooks made the steps quite straightforward. Still, if you find any difficulty in troubleshooting issues, Call Sagenext QuickBooks Support directly at +1-855-922-7243. You will get immediate help to resolve your issues.