If you’re looking to take professional-looking photos for your business, it’s not a bad idea to invest in a professional-grade camera. But if you don’t want to drop hundreds of dollars on a professional camera right away, there are other options that can help you achieve the same results.
The first step is learning how to properly set up your phone or tablet so that your photos look as good as possible before uploading them to Instagram or Facebook.
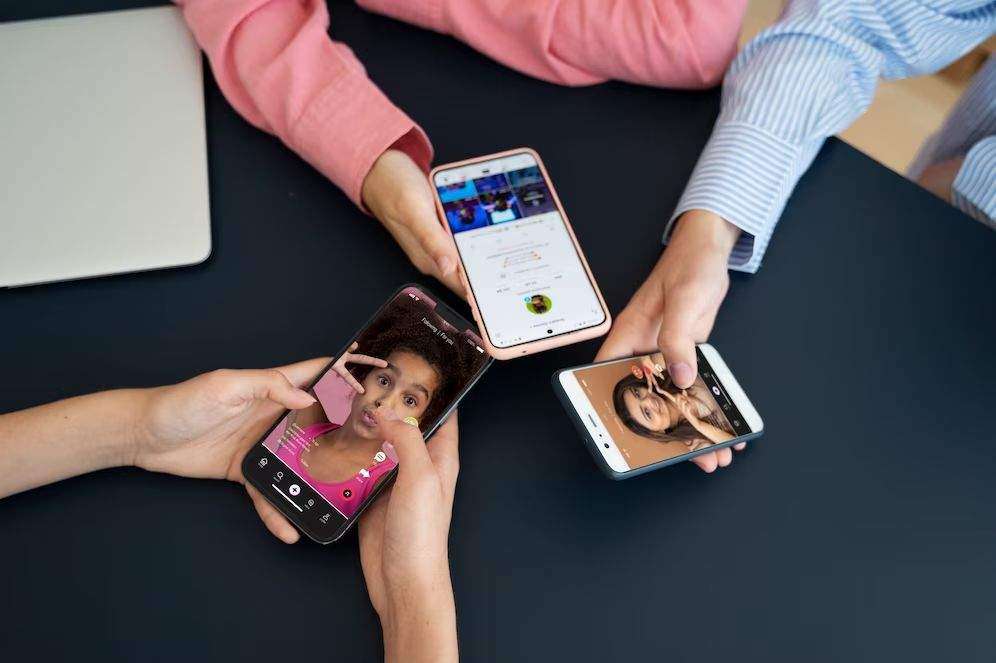
Once you’ve mastered taking photos that look good on social media platforms (and wherever else), then you’ll be ready for the next step: investing in some gadgets and accessories that will make taking high quality pictures even easier!
1. Use a tripod
Tripods are incredibly useful for taking photos in low light, or for any situation where you want to ensure that your camera is as steady as possible. They’re also great for shooting portraits and closeups of products, since they give you more control over how much of the scene is in focus. If you don’t already have one, consider buying one before you start taking professional-looking images with your phone or DSLR camera.
2. Use natural light
If you’re looking for a professional-looking photo, the best way to go about it is by using natural light. Natural light can be used in many different ways and can create some really stunning images, but there are also some tips on how to make sure that your photos look their best when using natural light:
- Use natural light instead of artificial lighting. It sounds obvious, but you’d be surprised how many people forget this step–especially when they’re trying out new settings or filters on their camera app! When we use artificial lights (such as lamps), our skin tone can get washed out or unnatural looking.
- Choose clothing colors that complement each other well against the background color of your choice–this is especially important if you plan on posting multiple photos at once (like an outfit series). This will ensure that all items within one post match each other without clashing together too much visually speaking.
3. Set up your camera correctly
- Make sure your camera is set to the correct settings.
- Use manual mode.
- Set up your camera so it’s level, and use a tripod if possible (or at least find something to rest it on).
- Use a timer so that you don’t have to press the shutter button when taking photos.
4. Be prepared to adjust the lighting of your photo
Use a tripod and make sure the camera is level. This will help ensure that your photos are not crooked, which looks unprofessional and can lead to people believing that you’re not a professional photographer (even if they know better).
Natural light is best, but if you don’t have enough of it in the room where you want to take pictures, use an external flash. You can also use reflectors–like white foam boards–to bounce more light back into your subject’s face and give them more definition than just using natural lighting alone would allow.
5. Pay attention to composition and angle
- Keep the subject of your photo in the center of the frame. If you’re shooting on a smartphone, this is easy to do–just hold your phone horizontally and tilt it so that your subject’s face takes up more space than anything else.
- Don’t cut off their feet or head. This is another easy rule for smartphone photographers: just make sure there’s no empty space beyond where their body ends!
- Don’t cut off their face. This is another simple one–if someone has long hair, don’t crop them so close that only half their face appears; instead, try framing with more space around them if possible (if not just take another shot).
- Don’t cut off their arms or legs…or hands…or fingers.
6. Don’t use filters!
Filters make photos look unrealistic by altering their colors and shadows — they’re meant to make photos look better than they do in real life, which isn’t what you want on social media where people expect authenticity and honesty from brands they follow. When editing your photos, adjust their brightness or contrast instead of their color saturation level or add any other effects like vignetting or cropping them into squares.
7. Try the photo booth
Try using a photo booth if you’re not sure how to pose for the camera. They come with lights and mirrors so everything looks perfect! Photo booths are a great way to take photos that look professional. You can do it without spending a lot of money on equipment or hiring a photographer. Plus, they’re fun!
Best part about popular photo booth for hire is they make it easy to capture candid moments and real emotions. This is why so many brands use them as part of their marketing strategy.
8. Take multiple shots from different angles
Make sure you’re taking multiple shots from different angles so that there are no awkward shots in your final product. When taking these shots, try changing up your subject’s pose or facial expression. It is to make them look different but still natural — like they’re actually having fun with you! This will make it easier for you to choose which ones are best when editing them later on in post-production. You can also buy photos from professional photographers. Find Feet Finder reviews to know about them here.
9. Avoid selfies
Selfies are great for sharing with friends. But they don’t work well when trying to promote yourself professionally or as a brand. So unless you’re posting something personal that doesn’t benefit from being professional (like a vacation), avoid using selfies. Try taking pictures of yourself from a distance or with someone else’s help.
We hope you’ve found this guide helpful! The most important thing is to be creative and have fun with your photos. Do you want them to look professional? It’s worth investing in some equipment and time spent learning about different lighting options. But don’t worry if that sounds like too much work. Even with just an iPhone and Instagram filters, there are plenty of ways for anyone to create beautiful images for their social media accounts.