MS Outlook is the most reliable platform where users can store and access their data anytime, anywhere, and from any device. Many small and large enterprises use Outlook to communicate and share important information with clients and colleagues. Most of the time, users keep storing data, which increases the size of PST file and cause the storage issue. Users may face corruption or damage in their PST file data due to its large size. To avoid such a situation, it is better to repair PST file.
Reason for corrupted PST file
There are various reasons for the PST file corruption, and if users want to access the data of corrupted PST file, they first have to repair Outlook 365 PST file. Check out some of the reasons for file corruption.
- Oversized PST file – While storing your data in the PST file, one should maintain the size of the file. The oversized PST file can cause corruption in your PST file, which creates issue for users to access their data. To avoid such a situation, users have to repair the PST file.
- Malware issue – One common cause of corruption in Outlook is the virus attack. Whenever the users download or install any software from an unauthorized website, sometimes it comes with some external virus. This virus can have a huge impact on your PST file, so users must repair Outlook 365 quickly.
- Improper shutdown of Outlook- Sometimes, users shut down their Outlook accidentally/ intentionally in an improper way, which leads to corruption. In this case, users are supposed to repair Outlook PST files.
Methods to fix the corrupted PST file
Users can repair their corrupted PST files with two methods, manual and professional. One can perform the task manually or with a professional third-party tool. If you go with the ScanPST.exe, which is free utility offered by Microsoft. Or if you opt for the professional way, you must look for a third-party tool to perform the task smoothly.
Procedure to use ScanPST.exe Utility to repair corrupted PST file
For users using this utility for the first time, they first need to find the location for the ScanPST.exe utility. The ScanPST.exe is located in your system; therefore, we are sharing the location of ScanPST.exe for different Outlook versions.
- Follow C :> Program Files (x86)> Microsoft Office> root> Office16 for Outlook 2019.
- Navigate to C :> Program Files (x86)> Microsoft Office> root> Office16 for Outlook 2016.
- Go through the C :> Program Files (x86)> Microsoft Office> Office15 location for Outlook 2013.
- Follow C :> Program Files (x86)> Microsoft Office> Office14 for Outlook 2010.
- Follow C :> Program Files (x86)> Microsoft Office> Office12 for Outlook 2007.
Now go through the below-mentioned steps to repair Outlook PST files.
- Firstly, tap on the ScanPST.exe option.
- The box will pop up, and you must enter the file name you want to scan and tap on the browse option.
- Once you have entered the file name, click on the Start option.
- Next, the pop box will appear, and you must check out these three options.
- Make a backup of the scanned file before repairing them.
- Search for the location to keep the backup of the file.
- After that, tap on the repair option.
- Once you tap on the Repair option, repairing the PST file will begin.
- Lastly, the notification for completing the procedure will pop up before you once the file is repaired.
Repair Outlook PST Files through Outlook
To repair the PST file, users can perform it through Outlook; here, we are sharing the systematic process to repair PST file.
- First, click on the File menu from the ribbon bar.
- Now on the new page, you are supposed to tap on the info option on the left side.
- Later, tap on the account setting option, and again, select the account setting option from the dropdown list.
- Now click on the data file option and click on the Add option.
- Now, users should enter the PST file names and then click on the Ok option.
- Later on, users have to select the recovered PST items from the lost and found folder to their new PST file.
- By following the process, users can repair PST file successfully.
Limitations of the Manual Method
Most users prefer the manual method to perform corrupted PST file repair task, but some will use it for the first time. We suggest users avoid the manual method and begin with a professional third-party tool to protect their data from any loss. We are sharing the limitation of the manual method below.
- Users cannot repair PST file with the ScanPST.exe utility if the file size is more than 2GB.
- In the manual method, users can’t repair their multiple corrupted PST at once and they need to perform the task again and again to remove the corruption from several files.
- If the ScanPST.exe utility fails to run for the first time, users must run the process multiple times.
- In cases where the PST file is heavenly corrupted, then ScanPST.exe will be unable to fix the corruption from them.
- The manual method consumes a lot of time, so users must wait hours to complete the whole process.
Professional method to repair PST file
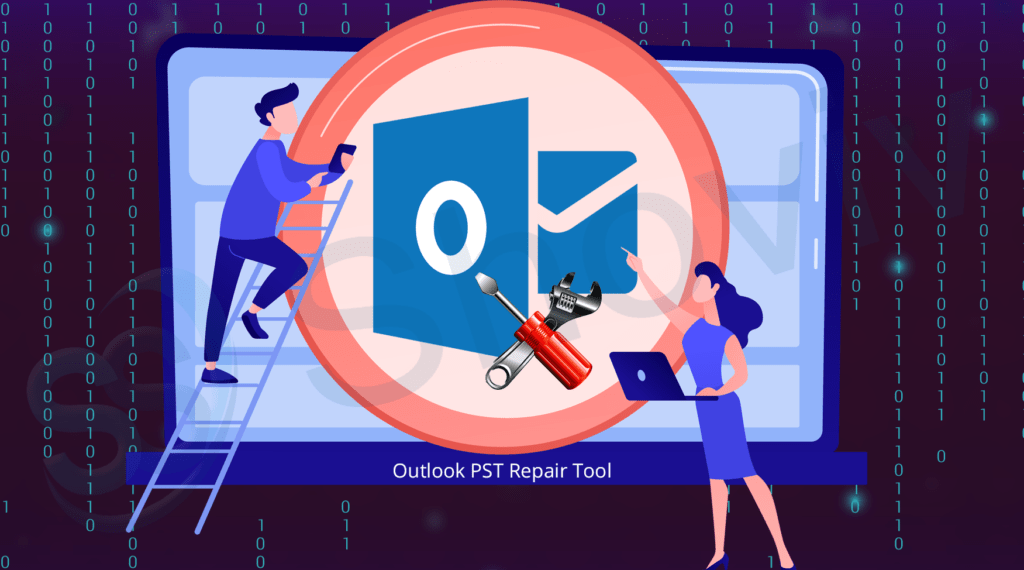
We have discussed the ScanPST.exe utility procedure to perform this task, and we see that it is not much effective in performing this task. Therefore, the professional third-party tool is the best solution for every user as it is the easiest way to conduct the procedure. For this, users can try the Shoviv Outlook PST Repair Tool, as they do not have to wait for hours to repair PST file. This software offers various features that help users in making the task easy as a cakewalk. Users can easily work with this tool as there is no need for technical expertise to operate it. Below, we are sharing its working with all the readers. Check it out.
- Visit the official website of Shoviv and download the Shoviv Outlook PST repair tool.
- Now tap on the Add PST file option.
- After that, you must select the PST file, check the Advance scan option, and hit the Ok button.
- Now from the ribbon bar, you are supposed to click on the Outlook PST tab.
- After that, you must check/ uncheck the subfolder list and click the Next option.
- Select the option to recover the PST file into the existing or the new one.
- Select the location for the new PST file, and you can select the size of the PST file and tap on the Next option.
- Later, tap the filter option to include/ exclude any item and then tap the Next option.
- Now on the new window, the process will start, and then you must tap the Ok button and the finish option.
Final Words
This blog has given us the manual and professional methods to repair PST file of Outlook email client. We hope that the above information will be helpful in repairing the corrupted PST file. At the end of this blog, we recommend users to use the Shoviv professional third-party tool, as this is an effortless and fastest way to complete this task. Moreover, users can also check out more details about the features and working of this software by downloading its free trial version.