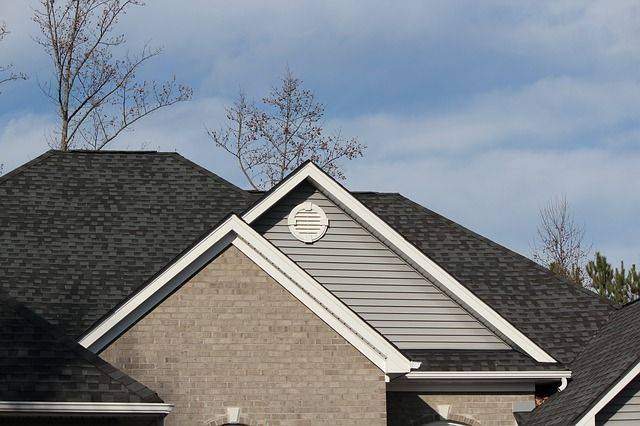
You can shingling the hip roofs but it takes more effort and time. These hip roofs are difficult to install on the shingles. Where on other roofing it is not too much difficult. For this, you will need to crop and sized which takes the time to lay down the shingles at the right place.
You will also need to apply the flashing before installing the shingles on the hip roof. This is the place where there are ridges and the corners that may leak water. When you will start the work, you will remember to do work row by row. It helps you to do the installation in a regular disciplined manner. You can find a guide on How to Install Hip Roof Shingles here.

Tips on How to Install Hip Roof Shingles and easy ways to shingle a hip roof:
1. Add the protection:
You will need to add the protection layer before installing the hip roof shingles. Also, you can install the flashing for securing the roof from the water damage. You will need to start the work by applying the flashing first on the ridges and corners of the roof shingles.
2. Place the first shingle:
After installing the flashing on the roof then you will start your installation process of the shingles. You will need to start the installation from any of the sides. But you will remember that if you start from the right side. Then you will need to trim the left side. While if you start from the left then you will need to trim the right side. You will also remember to wear the heavy pair of gloves. Because while trimming you may get injured from the knife or a cutter.
Make sure about cutting the shingles at the right angles flat against the ridge. You will also nail the shingles at the top corners of the roof. You will nail in the middle of the shingle but if there was a wind issue then you will need to apply two nails in the middle to fasten the shingles well enough.
3. Continue to install the other shingles:
You will need to do the same work in a continuous manner. You will need to do the work in parts of rows as you will do the work in a first row and finish it then start the other row and do the same work. Again you will need to cut the remaining shingles in the same method and in the same dimension to make them look perfect.
4. Use the adhesive and apply final touching:
After installing the whole shingles on the hip roof. All the shingles are overlapped but the last shingle of the roof must be install and fixed with the glue or asphalt roofing cement. This makes your roof secure from the water particles and the shingles will be secure by overlapping each other and fix in a healthy manner.
From the above, we concluded that the shingling the hip roofs is not some way easy but you can make it easy if you will do the work in the discipline and install the shingles row by row. You will also install the flashing first and then place the shingles to make your roof safe from the water damage. If you are still facing problems while shingle a hip roof then you really need to contact professional roofing contractors Michigan for assistance.