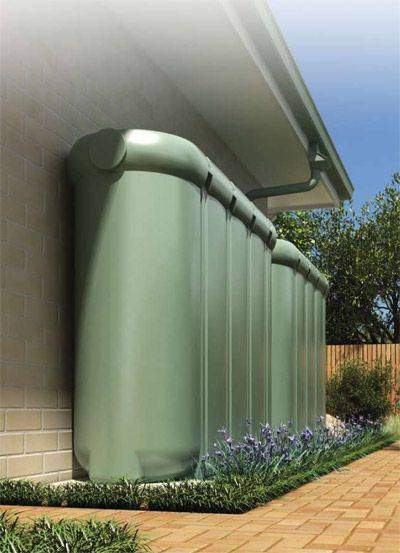
If you are a resident of Victoria in Australia, I am sure you have installed rainwater tanks in your home to tackle the problem of shortage of water prevalent in the area. But mere installation of the water tank in your property will not get your job done. If you want to get a clean and clear supply of water, you need to clean the tank on regular basis.
So, when was the last time you cleaned your rainwater tank? Even if you had cleaned it enough, did it ensure a supply of hygienic water? Don’t worry. Read this blog to know the tips and tricks to clean rainwater tanks like a professional to get a supply of unpolluted water for your home.
Things to Pay attention
Before you set out to clean your rainwater tank make sure to pay attention to the things below:
- Check the level of water so that you don’t run out of water at short notice.
- Check the roof, liner, leaf basket and the hatches to see if they need any cleaning or repair. It is better to sort these things out early.
- Make sure there are no pests or insects flying or swimming around. They will make your stored water dirty.
- Check out for dead animals like snakes, frogs, rats or possum floating on the water of the tank. They are dangerous and will make the water poisonous.
- Try to see the bottom of the tank to check its clarity. In a well-maintained tank, you will be able to see the bottom of the tank easily as it will be clear of debris and sludge.
Once you have done the survey of your water tank, it is time to carry out the cleaning process. Try to clean your water tank at least every 1-2 months even during summer.
1. Get the tools that are required for the cleaning process
Before starting the cleaning process analyze the tool that you will need. The basic cleaning tools that you might need are bucket, brush, scrubber, high-pressure cleaner, sludge pump and vacuum cleaner. Make sure to have an ample supply of bleaching powder to clean the bucket in the best way possible.
2. Clean the surrounding area of the tank
Before cleaning the inner part of rainwater tanks in VIC it is essential to clean the surrounding area of the tank for proper hygiene and maintenance. To get rid of the dirt on the exterior part of tank use a brush and a household cleaner.
3. Drain out the water from the tank
Use a splurge pump to drain out the water present in water tanks in VIC as it is the most convenient way. You might not be able to completely drain out water. If there is some water left in the tank, make sure to use a cloth to soak the water in and drain it out easily.
4. Get inside the tank to clean it
Yes, you have heard it right. You have to get inside the tank to clean it properly. It is the most important step in the entire cleaning process and you have to do it patiently to ensure clean water. It is always best to clean the inner part of the tank with a scrubber. In this way, you will get rid of algae, fungus, sediments and even stains in the most beneficial way.
5. Clean the walls of the tank with high-pressure jet pump
Want to clean the inner walls of your rainwater tank so that you get the pristine clean water? Then it is advisable to use the high-pressure jet pump as it will remove hard stains and dirt in an easier way by sucking them out from the walls of the tank.
6. Clean the tank with fresh water and spray disinfectant
This is the last step of the cleaning process. After removing dirt and stains from the inner wall of the tank, clean it with fresh water and spray disinfectant or bleaching powder to prevent infestation of pest and insects.
Follow this cleaning process step by step to store rainwater in its cleanest form. To get the best result, make it a point to clean your rainwater tank regularly. So, what are you waiting for? Get your cleaning tools now and get ready to clean your water tanks now.